// Practice lab
CCNA lab 1: Basic device setup and SSH
Configure a new switch from scratch — hostname, secrets, banner, management SVI, SSH-only access — and save it.
1 min read#ccna#ios#ssh#lab
Objectives
- Secure console and privileged access with hashed secrets.
- Give the switch a management IP in VLAN 99.
- Enable SSH version 2 and disable Telnet.
- Save and verify the configuration.
Topology and addressing
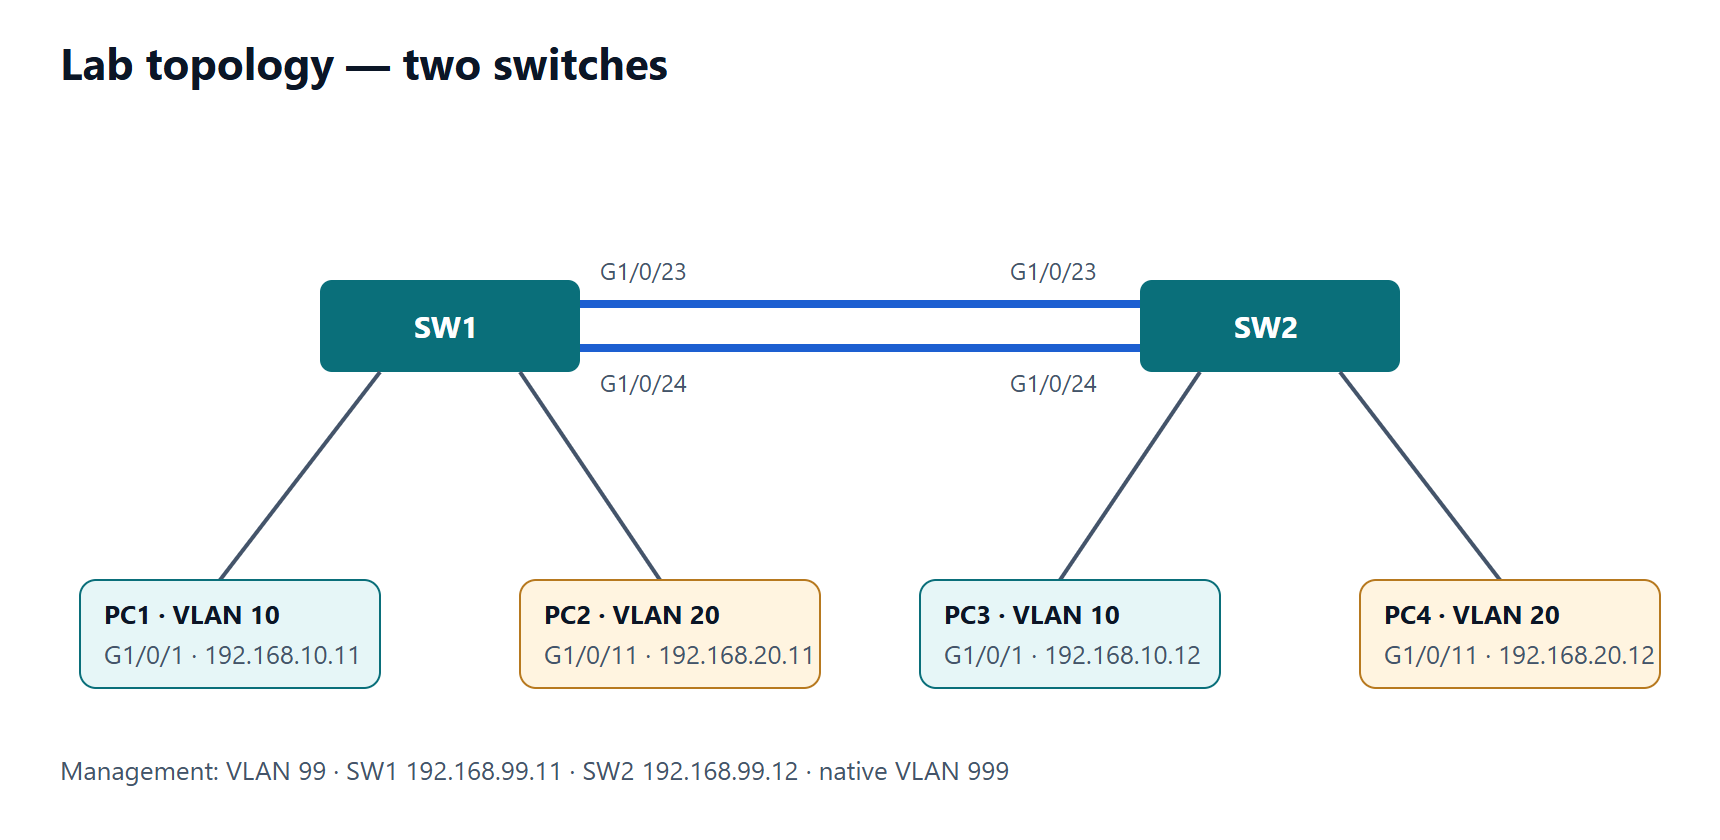
Use SW1 and PC1 from the diagram. Connect PC1 to SW1 G1/0/1 and put that port in VLAN 99 for this lab.
| Device | Interface | Address | Gateway |
|---|---|---|---|
| SW1 | VLAN 99 | 192.168.99.11/24 | 192.168.99.1 |
| PC1 | NIC | 192.168.99.50/24 | 192.168.99.1 |
Packet Tracer 2960 switches name their ports
FastEthernet0/1; adapt interface names to your platform.
Tasks
- Set the hostname to SW1 and stop DNS lookups of mistyped commands.
- Set a hashed privileged secret, and a console login with a 10-minute timeout.
- Add a "authorised access only" banner.
- Create VLAN 99 named MGMT, put G1/0/1 in it as an access port, and give interface VLAN 99 the address above. Set the default gateway.
- Create a local user netadmin with privilege 15 and a hashed secret.
- Enable SSH v2 with a 2048-bit (or larger) RSA key. Allow only SSH on the VTY lines, with local login.
- Save the configuration.
Verification
show ip interface brief— VLAN 99 is up/up with 192.168.99.11.- From PC1:
ping 192.168.99.11, thenssh -l netadmin 192.168.99.11succeeds. telnet 192.168.99.11from PC1 is refused.show ip sshreports version 2.0.- After
reload, the configuration is still there.
Show the solution
Switch> enable
Switch# configure terminal
Switch(config)# hostname SW1
SW1(config)# no ip domain-lookup
SW1(config)# enable secret Lab-Secret-2026!
SW1(config)# banner motd # Authorised access only. Activity is logged. #
SW1(config)# line console 0
SW1(config-line)# login local
SW1(config-line)# exec-timeout 10 0
SW1(config-line)# logging synchronous
SW1(config-line)# exit
SW1(config)# vlan 99
SW1(config-vlan)# name MGMT
SW1(config-vlan)# exit
SW1(config)# interface GigabitEthernet1/0/1
SW1(config-if)# switchport mode access
SW1(config-if)# switchport access vlan 99
SW1(config-if)# exit
SW1(config)# interface vlan 99
SW1(config-if)# ip address 192.168.99.11 255.255.255.0
SW1(config-if)# no shutdown
SW1(config-if)# exit
SW1(config)# ip default-gateway 192.168.99.1
SW1(config)# username netadmin privilege 15 secret Admin-Secret-2026!
SW1(config)# ip domain-name lab.local
SW1(config)# crypto key generate rsa modulus 2048
SW1(config)# ip ssh version 2
SW1(config)# line vty 0 15
SW1(config-line)# login local
SW1(config-line)# transport input ssh
SW1(config-line)# exec-timeout 10 0
SW1(config-line)# end
SW1# copy running-config startup-config
Why login local on the console too: once a local user exists, using it everywhere means one set of credentials to manage (and, later, AAA with a local fallback). The lab secrets above are examples — never reuse them on real devices.